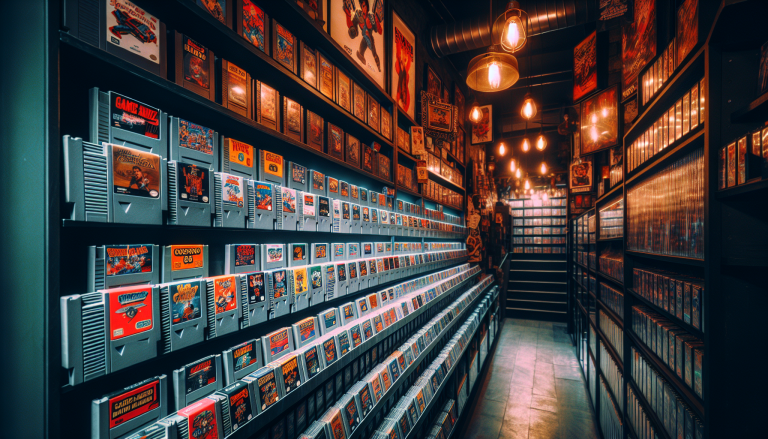
Understanding the Compatibility Challenges of Retro Consoles with Modern TVs
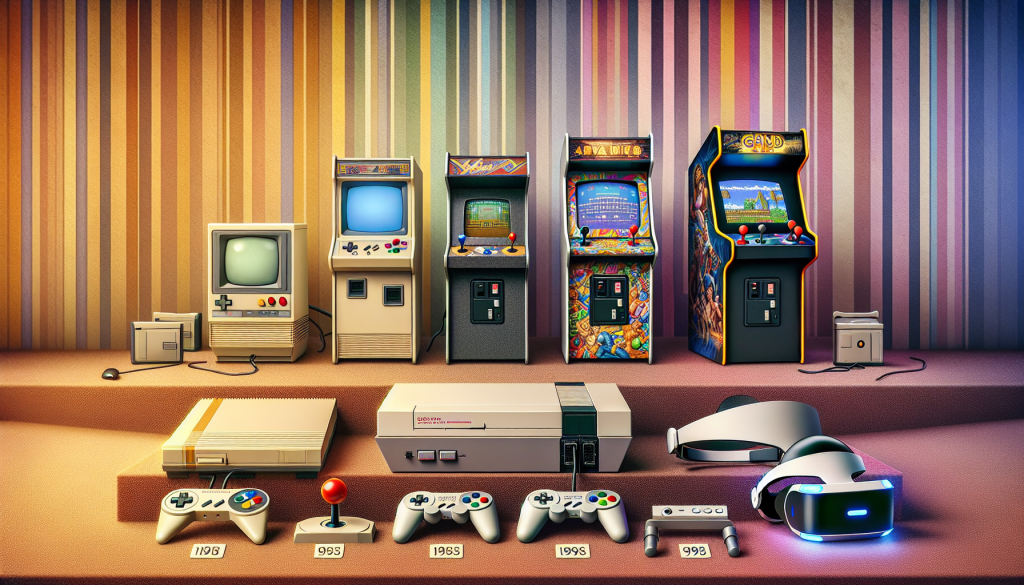
Do you remember the good old days of gaming, when you spent hours playing your favorite retro consoles? Whether it was the classic NES, Sega Genesis, or even the beloved PlayStation 1, those memories are something that many of us hold dear. But what happens when you want to relive those gaming moments and connect your retro console to a modern TV? Well, my friend, you might run into some compatibility challenges.
Modern TVs are designed to work with the latest technology, which means they often lack the necessary ports and features to connect retro consoles. One of the primary hurdles is the difference in video output between retro consoles and modern TVs. Retro consoles typically use analog signals, while modern TVs are optimized for digital signals. This mismatch can lead to a poor or nonexistent connection between the two.
Another challenge is the resolution discrepancy. Retro consoles often output games at a lower resolution compared to the high-definition displays of modern TVs. This can result in blurry or stretched images, making it difficult to enjoy the games as intended.
So, what can you do to overcome these compatibility challenges and enjoy your retro gaming sessions on a modern TV? Fear not, my fellow gamer, for there are solutions!
Connecting Retro Consoles to Modern TVs: Using HDMI Adapters and Converters
HDMI adapters and converters are the heroes of retro gaming on modern TVs. These handy devices allow you to bridge the gap between analog and digital signals, ensuring a smooth connection between your retro console and the TV.
The most common solution is to use an HDMI adapter specifically designed for retro consoles. These adapters typically have analog inputs, such as RCA or S-video, and output a digital HDMI signal that your TV can understand. They act as a translator, converting the analog signal from your retro console into a format that the modern TV can display.
You can find HDMI adapters for various retro consoles, including the NES, Sega Genesis, and even the PlayStation 1. Simply connect the adapter to your console and the TV using an HDMI cable, and voila! Your retro gaming experience is now compatible with your modern TV.
Maximizing Picture Quality: Adjusting Display Settings for Retro Consoles
While the HDMI adapter solves the compatibility issue, you may still encounter picture quality problems. Retro consoles often output games at a lower resolution, resulting in less crisp and sharp visuals on a modern high-definition TV.
Fortunately, there are ways to improve the picture quality and enhance your gaming experience. Many modern TVs offer display settings that allow you to adjust the picture quality. Experiment with settings such as sharpness, contrast, and brightness to find the optimal configuration for your retro console.
Additionally, some HDMI adapters and converters have built-in upscalers, which can enhance the resolution of the retro console’s output. These upscalers can help improve the picture quality and make the games look more vibrant on your modern TV.
Remember, each retro console may have different optimal display settings, so don’t be afraid to tinker with the options until you find the perfect balance between nostalgia and visual quality.
Connecting your retro consoles to modern TVs may require some troubleshooting and adjustments, but it’s well worth the effort to relive those gaming memories. In the next part of this series, we will explore alternative connection options for retro consoles, including using component or composite cables. So, stay tuned, my fellow retro gamers!
Connecting Retro Consoles to Modern TVs: Using HDMI Adapters and Converters
So, you’ve dusted off your old retro console, ready to relive those nostalgic gaming moments. But when you try to connect it to your modern TV, you’re hit with a compatibility challenge. Fear not, my friend, for I have the solution!
One of the most common issues when connecting retro consoles to modern TVs is the difference in video outputs. Retro consoles often use RCA or RF connectors, while modern TVs are equipped with HDMI ports. But fret not, because there is a simple and handy solution: HDMI adapters and converters!
HDMI Adapters:
An HDMI adapter is a small device that converts the RCA or RF video signal from your retro console to an HDMI signal that your modern TV can understand. These adapters are widely available and relatively inexpensive.
Here’s how you can use an HDMI adapter to connect your retro console to your modern TV:
- First, make sure you have an HDMI adapter that is compatible with your retro console. There are different adapters available for different consoles, so do a quick search to find the one that suits your needs.
- Connect one end of the RCA or RF cable from your retro console to the corresponding port on the HDMI adapter.
- Plug the HDMI cable from the adapter into an available HDMI port on your TV.
- Power on your retro console and switch your TV to the HDMI input where you connected the adapter. Voila! You should now see your retro games on the big screen.
HDMI Converters:
If your retro console doesn’t have RCA or RF outputs, or if you want to further enhance the video quality, you can consider using an HDMI converter. HDMI converters not only convert the video signal but also upscale it to a higher resolution, resulting in a crisper and more vibrant image on your modern TV.
Here’s how you can use an HDMI converter to connect your retro console to your modern TV:
- Similar to the HDMI adapter, make sure you have an HDMI converter that is compatible with your retro console.
- Connect the video cable from your retro console to the corresponding port on the HDMI converter. If your console uses RCA cables, use the red, white, and yellow components for video and audio.
- Connect one end of the HDMI cable from the converter to an available HDMI port on your TV.
- Power on your retro console and switch your TV to the HDMI input where you connected the converter. Prepare to be amazed by the upgraded visuals!
With the help of HDMI adapters and converters, you can easily bridge the gap between retro consoles and modern TVs. Enjoy your favorite classic games with enhanced visuals and relive the gaming magic!
Maximizing Picture Quality: Adjusting Display Settings for Retro Consoles
One of the challenges of connecting retro consoles to modern TVs is ensuring the best possible picture quality. Retro consoles were designed to be used with older TVs, which had different display characteristics compared to modern flat-screen TVs. However, with a few adjustments to the display settings, you can maximize the picture quality and enjoy your retro gaming experience to the fullest.
1. Aspect Ratio
When connecting a retro console to a modern TV, you may notice that the image appears stretched or distorted. This is because older consoles were designed for a different aspect ratio, typically 4:3, while modern TVs usually have a wider 16:9 aspect ratio. To fix this, you can adjust the aspect ratio settings on your TV to display the image in its original format. Look for options like “4:3” or “Original” in the display settings menu of your TV.
2. Overscan
Overscan is a feature that was commonly used in older TVs to compensate for the limitations of CRT technology. It would crop the edges of the image to fit the screen, resulting in some loss of picture information. However, modern flat-screen TVs typically do not require overscan. To ensure that you are not losing any part of the image, disable the overscan feature in your TV’s settings. This will display the full image from your retro console without any cropping.
3. Sharpness and Noise Reduction
Modern TVs often come with built-in image processing features like sharpness enhancement and noise reduction. While these features can be beneficial for high-definition content, they can actually degrade the picture quality of retro games. It is recommended to disable or minimize these settings when playing retro games, as they can introduce artifacts and blurriness to the image. You can usually find these settings in the picture or display settings menu of your TV.
4. Game Mode
Most modern TVs have a “Game Mode” option, which reduces input lag and improves responsiveness when playing video games. Enabling this mode can make a noticeable difference in the gameplay experience, especially for fast-paced retro games. Check your TV’s settings menu for a “Game Mode” option and turn it on when using your retro consoles.
5. Brightness and Contrast
Adjusting the brightness and contrast settings can significantly impact the visual quality of retro games. Start by setting the brightness level to a point where the blacks are deep, but you can still see the details in the darker areas of the screen. Then, adjust the contrast to achieve a balance between bright and vibrant colors without losing detail in the highlights. These settings can usually be found in the picture or display settings menu of your TV.
By making these adjustments to the display settings of your modern TV, you can enhance the picture quality and enjoy a more authentic retro gaming experience. Remember to experiment with the settings to find the optimal configuration that suits your preferences. Now, it’s time to dive back into the world of retro gaming!
Alternative Connection Options: Using Component or Composite Cables to Connect Retro Consoles to Modern TVs
So you’ve dusted off your old retro console, but now you’re faced with the challenge of connecting it to your modern TV. While HDMI adapters and converters can be a great solution, they might not always be available or compatible. In such cases, you can explore alternative connection options, such as using component or composite cables.
Component Cables
Component cables are a popular choice for connecting retro consoles to modern TVs. These cables provide high-quality video signals and are capable of carrying both analog and digital audio signals. Most retro consoles, like the PlayStation 2 or original Xbox, have component outputs.
To connect your retro console using component cables, follow these steps:
- Make sure your retro console has component output ports. These ports are usually color-coded with red, green, and blue for video, and red and white for audio.
- Check if your modern TV has component input ports. They are also color-coded to match the cables.
- Connect the component cables from the console’s output ports to the TV’s input ports, ensuring that the colors match.
- Use an additional audio cable to connect the audio output of the console to the audio input on the TV, using the matching red and white ports.
- Turn on your console and TV, and switch the TV’s input to the corresponding component input.
With component cables, you can enjoy a clear and vibrant picture on your modern TV, while still experiencing the nostalgia of playing retro games.
Composite Cables
If your retro console doesn’t have component output ports, you can try using composite cables instead. Composite cables are the standard red, white, and yellow cables that were commonly used for audio and video connections in older devices.
Follow these steps to connect your retro console using composite cables:
- Locate the composite output ports on your retro console. They are usually color-coded with yellow for video, and red and white for audio.
- Check if your modern TV has composite input ports. These ports are also color-coded to match the cables.
- Connect the composite cables from the console’s output ports to the TV’s input ports, ensuring that the colors match.
- Turn on your console and TV, and switch the TV’s input to the corresponding composite input.
While composite cables may not provide the best picture quality compared to component or HDMI, they are still a viable option for connecting retro consoles to modern TVs.
Remember, when using alternative connection options like component or composite cables, it’s important to adjust the display settings on your TV. Make sure to select the appropriate input and adjust the aspect ratio or screen size to optimize the gaming experience.
So don’t let the compatibility challenges of retro consoles discourage you from reliving those classic gaming moments. With alternative connection options like component or composite cables, you can easily connect your retro console to your modern TV and enjoy hours of nostalgic fun!