Understanding the Fundamentals of Vintage Arcade Machine Restoration
When it comes to arcade machine restoration, there’s a certain charm in breathing new life into a vintage piece. Whether you’re a seasoned hobbyist or a beginner enthusiast, understanding the fundamentals of vintage arcade machine restoration is vital. So, let’s dive right in!
What is Vintage Arcade Machine Restoration?
Simply put, vintage arcade machine restoration is the art and science of restoring old, often non-functioning arcade machines back to their original, playable state. The process involves a thorough inspection, cleaning, repairing, and sometimes replacing parts to bring the machine back to its former glory.
Why Restore Vintage Arcade Machines?
You might be thinking, “Why go through the trouble?” Well, there are a few compelling reasons. Vintage arcade machines are a nostalgic link to the past, a time when arcades were the go-to place for socializing and gaming. They’re a piece of history, and restoring them helps preserve that.
- Moreover, working on these machines can be a fantastic hobby that challenges your problem-solving skills and keeps your hands busy.
- For others, it could be a profitable business. Restored vintage machines are in demand among collectors and enthusiasts, fetching a high price on the market.
Understanding the Anatomy of Vintage Arcade Machines
Before you start tinkering around, it’s crucial to understand the primary components of a vintage arcade machine. These typically include:
- The Cabinet: This is the body of the machine, housing the other components. Cabinets are often made of wood or metal and come in various designs and sizes.
- The Monitor: This is essentially the screen where the game is displayed. Monitors can be Cathode Ray Tube (CRT) or Liquid Crystal Display (LCD).
- The Control Panel: This part holds the joystick, buttons, and other controls used to play the game.
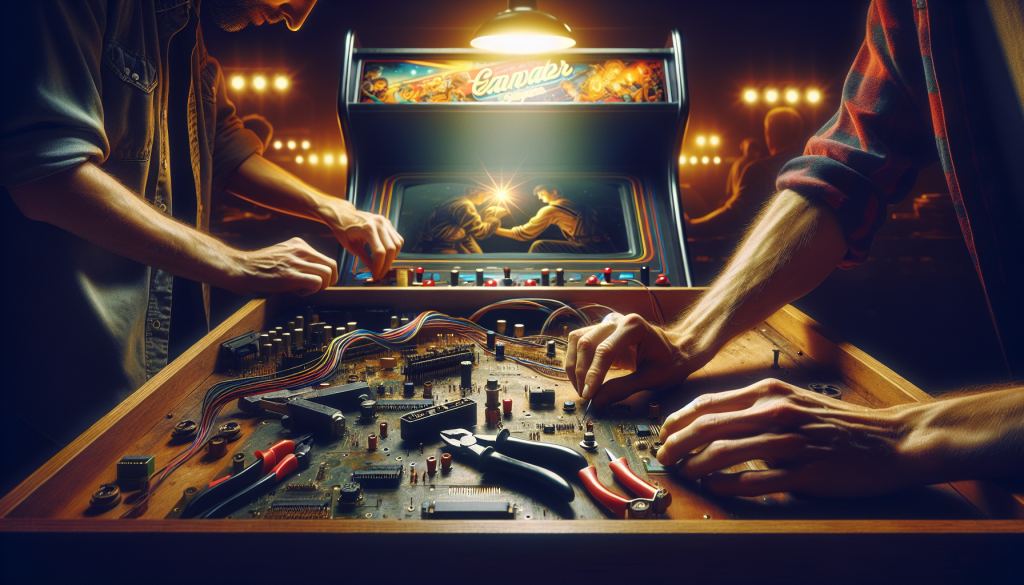
- The Game Board: Also known as the PCB (Printed Circuit Board), this is the machine’s brain, where the game software resides.
- The Power Supply: This component provides the necessary power to run the machine.
While these are the main parts, remember that every arcade machine is unique, and components can vary depending on the era and model of the machine.
Knowing Your Limits
Lastly, it’s essential to understand that vintage arcade machine restoration isn’t always a straightforward process. You might encounter tricky electrical issues, hard-to-find replacement parts, or even damage that’s beyond repair. Always be aware of your skills and limitations, and don’t hesitate to seek professional help when needed. In the end, the goal is to restore these machines to their former glory while preserving their history and integrity.
Essential Tools and Materials for Arcade Machine Restoration
If you’re passionate about the retro charm of vintage arcade machines and looking to bring one back to its former glory, you’re in for an exciting project! But, as with any restoration undertaking, it’s crucial to arm yourself with the right tools and materials to ensure a smooth, successful process. Let’s dive into the essentials you’ll need on this pixel-powered journey.Tools: Your Very Own Arcade Toolbox
The first thing you’ll need to gather are the basic hand tools. While some might already be part of your toolbox, others are more specialized and might require a trip to the hardware store. Here are the must-haves:- Screwdrivers: A set of both flathead and Phillips-head screwdrivers in various sizes is invaluable. You’ll be dealing with a lot of screws in different sizes and depths.
- Wrench Set: A good set of open-ended or combination wrenches is necessary for loosening and tightening bolts.
- Wire Strippers: For any electrical work, a good pair of wire strippers is essential.
- Soldering Iron: You’ll likely need to repair or replace some electrical connections, and a soldering iron is the tool for the job.
- Multimeter: This useful tool will help you check voltage, resistance, and continuity in the machine’s numerous electrical circuits.
Materials: The Building Blocks of Your Restoration
With tools sorted, let’s move on to the materials. This is where things can get a bit more specialized, but don’t worry – you’ll be a pro before you know it!- Replacement Parts: Depending on the machine’s condition, you may need to replace various components. These could range from buttons and joysticks to monitors and internal circuitry. It’s a good idea to source these parts in advance, especially as some vintage parts can be hard to find.
- Paint and Decals: To bring the exterior of your machine back to life, you’ll need paint that matches the original colors. You may also need to replicate or replace any decals or artwork that have faded or been damaged over time.
- Electrical Supplies: Restoring an arcade machine often involves some rewiring. Ensure you have a stock of wire, solder, heat shrink tubing, and electrical tape on hand.
- Cleaning Supplies: Last but not least, don’t forget the cleaning supplies! A can of compressed air, some microfiber cloths, and a good all-purpose cleaner will do wonders in removing years of built-up grime.
Detailed Step-by-Step Guide for Restoring Vintage Arcade Machines
Have you ever dreamed of restoring a vintage arcade machine to its former glory? Maybe you’re a gaming enthusiast, a collector, or you just love the nostalgia of these gaming relics. Either way, this guide is for you. Let’s jump right in!
Step 1: Assess Your Machine
First things first, take a close look at your arcade machine. Note any areas that are damaged or in poor condition. It’s essential to note down what needs to be repaired or replaced, so you can plan your restoration accurately. The marquees, control panels, joysticks, and buttons are a few components to consider.
Step 2: Clean Your Machine Thoroughly
Next, give your arcade machine a good clean. Use a non-abrasive cleaner to wipe down the entire machine. This includes the cabinet, the control panel, and the monitor. Be careful not to damage any artwork or decals in the process.
Step 3: Restore or Replace Damaged Parts
Now you’re ready to restore or replace those damaged parts you noted earlier. Remember, some parts might just need a bit of touch up, while others might need more extensive work or replacement. Don’t get discouraged if things don’t fit perfectly at first, sometimes patience is the key.
Step 4: Reassemble Your Machine
Once you’ve restored or replaced the needed parts, it’s time to put everything back together. This is when you’ll appreciate having taken note of the machine’s original state before disassembly. Follow your notes carefully and remember, it’s always better to double-check than to force a component into place.
Step 5: Test Your Machine
The final step, and arguably the most exciting, is to power up your machine and see it in action. Test all of the buttons, joysticks, and make sure the screen is displaying correctly. If something isn’t working, don’t worry. It’s all part of the process. Just go back and recheck your work.
The restoration of a vintage arcade machine is no small task, but with careful planning and a little elbow grease, it’s an achievable dream. And when you finally fire up that machine that you’ve put your sweat and tears into restoring, it’s going to feel pretty amazing.
Troubleshooting Common Technical Challenges in Arcade Machine Restoration
Whether you’re a seasoned collector or a rookie enthusiast, it’s inevitable that you’ll come across a few bumps in the road during your arcade machine restoration journey. From malfunctioning joysticks to faded screens, these challenges can seem intimidating at first glance. But don’t worry, we’ve got your back! In this section, we’ll be running through some common technical challenges and how to fix them in a straightforward and accessible way.
1. Flickering or No Display on the Monitor
If you’re facing this issue, first check the power supply. A failing power supply is usually the culprit for such problems. It may be necessary to replace it with a new one if it’s no longer functioning properly. Alternatively, it could be an issue with the monitor’s capacitor. In this case, a capacitor kit can come in handy to replace the faulty components.
2. Non-Working Joystick or Buttons
There’s nothing worse than a joystick or button that won’t respond during your game play. Often, the issue lies within the control panel itself. It could be a worn-out microswitch, or maybe the joystick needs to be replaced. Remember, when dealing with controls, it’s all about the details. A can of contact cleaner can do wonders in cleaning out dust and grime that may be obstructing the contacts.
3. Unstable or Distorted Sound
The once heart-pounding, adrenaline-boosting sounds of your arcade machine have turned into a screeching noise or maybe there’s no sound at all. This could be due to a faulty speaker or an issue with the audio circuit on the game board. You can try replacing the speaker or repairing the circuit, depending on the root cause of the problem.
4. Game Doesn’t Start
You’ve finally got your machine looking like new, but the game just won’t start. This could be a complex issue that requires a more detailed analysis. Inspect the game’s PCB (Printed Circuit Board) for any visible damages or loose connections. If everything seems alright, you may need to replace the game ROMs or even the entire game board.
Restoration of vintage arcade machines is a rewarding process, despite its challenges. It’s about more than just bringing an old machine back to life; it’s about preserving a piece of gaming history. So, don’t get discouraged by these technical hiccups. With a little patience and the right guidance, you can overcome any obstacle that comes your way. Happy restoring!
