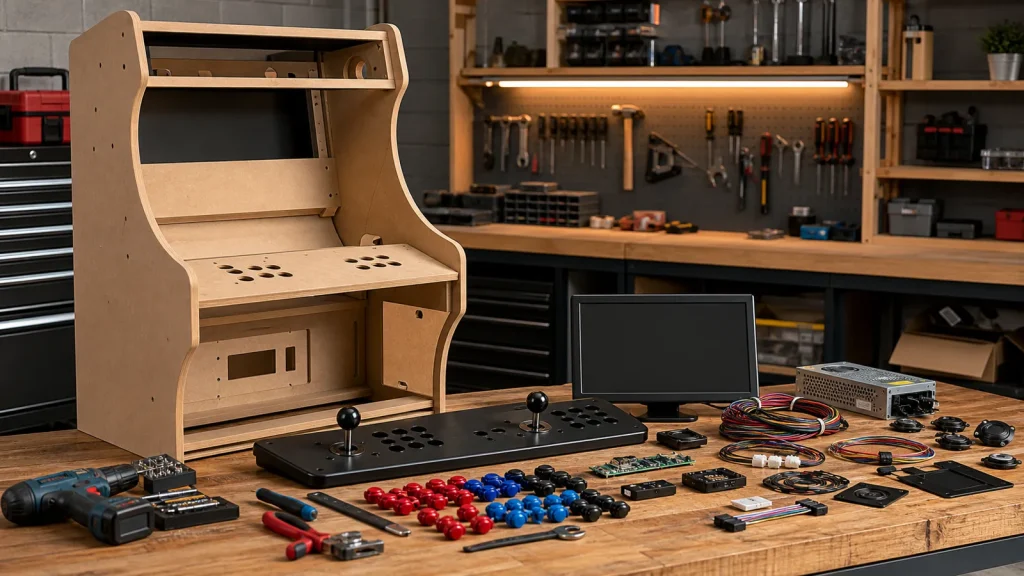
In the age of advanced gaming consoles and virtual reality, there’s something nostalgically appealing about classic arcade machines. Thanks to the DIY community, building your own home arcade has become a popular project for gaming enthusiasts. This guide, inspired by the expertise of an experienced computer and electronics specialist, will walk you through creating your very own arcade machine.
Choosing A Cabinet
When embarking on the journey to create your own home arcade machine, one of the first and most crucial decisions is selecting the right cabinet. Among the options available, a standout choice is the 2 Player Bartop Arcade Cabinet Kit by LEP1 Customs, LLC. This kit offers a balance of quality, convenience, and customization.
This particular model, the SanwaALL30 (Sanwa joys, 28mm or 30mm buttons), is a perfect blend of ease and sophistication. The kit includes pre-cut, routed, and pre-drilled MDF for a DIY Cabaret Arcade Cabinet. It’s designed for straightforward assembly, with features like an integrated marquee bracket, baton indents for easier assembly, and pre-drilled holes for mounting speakers and controls. An interior shelf is provided for your game system, adding to the cabinet’s functionality.
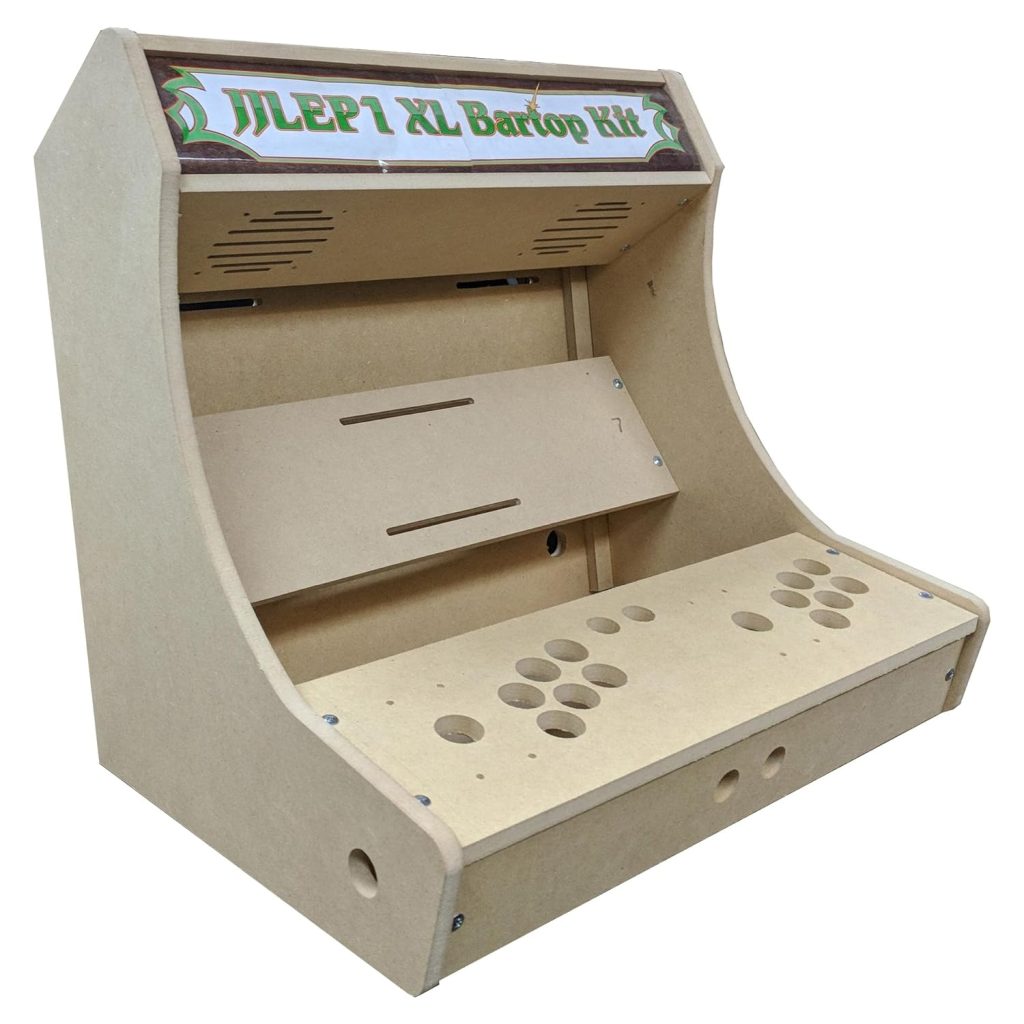


To complete the assembly, you’ll need an LCD monitor, speakers, a game system like a Raspberry Pi or Mini PC, and other hardware components. The kit accommodates up to 19″ square or 23″ widescreen LCD monitors and comes with numbered baton supports and screws for basic assembly. All you need to supply is the wood glue and a screwdriver.
Opting for this kit allows for a personalized touch to your arcade machine, with the flexibility to choose your components, like joysticks and buttons, to suit your gaming preferences. The cabinet can be finished with light sandpaper, primer, and paint, giving it a professional and customized appearance.
Preparing the Cabinet
Once you have your cabinet, it’s time to work on it. If you’ve chosen to build from scratch, start with your plans and a scale model before moving to the full-scale build. For a pre-fab kit, simply follow the included instructions. If refurbishing, carefully strip the cabinet down to its frame, being cautious with the monitor. Sand, fill in imperfections, and paint the cabinet to your liking. For metal pieces like coin doors, remove rust, and repaint for a fresh look. Also, consider adding T-Molding and kick plates for a professional finish.
Monitor Installation
After selecting your ideal cabinet, the next step in your arcade machine project is choosing the right monitor. For a perfect balance of quality, functionality, and cost, consider the ViewSonic 19-Inch Widescreen Monitor. This monitor is a smart choice for both home and office use.
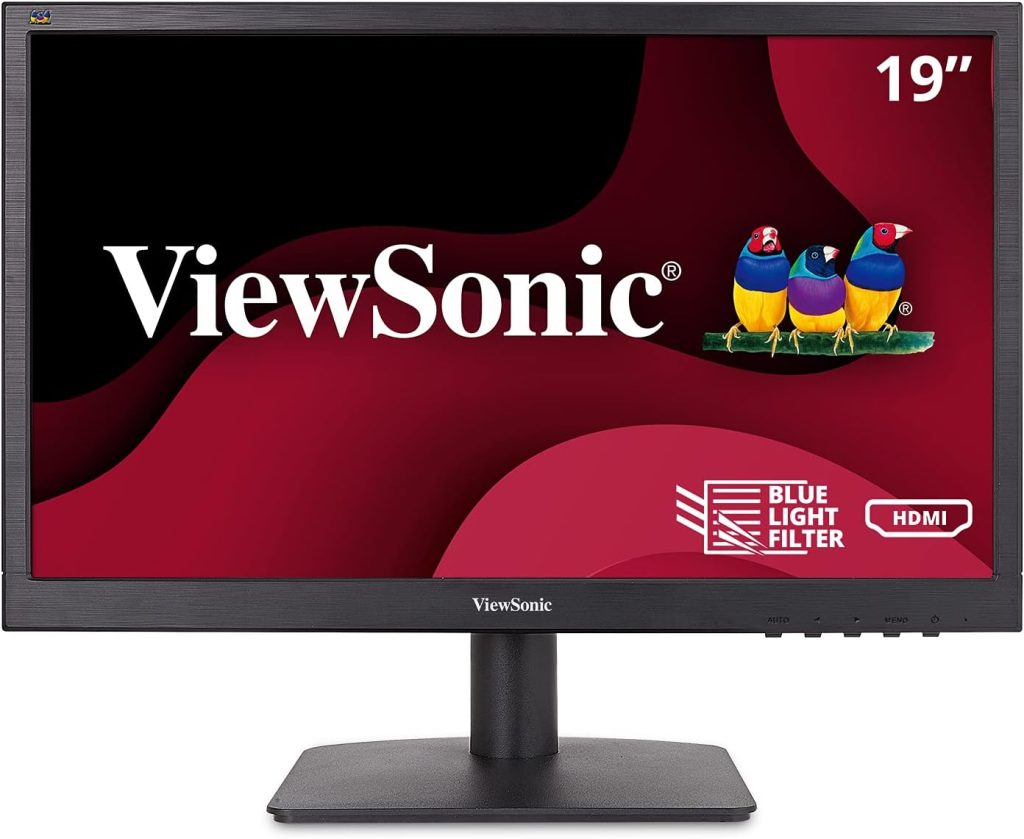
The ViewSonic VA1903H, boasting a 19-inch screen with a WXGA resolution of 1366×768 pixels, offers a clear and vibrant display. Its 16:9 widescreen format is ideal for various applications, including business and gaming. One of the key features enhancing the gaming experience on this monitor is its optimized view settings, including specific presets for gaming, movies, and web browsing.
The monitor also prioritizes viewing comfort, equipped with Flicker-Free technology and a Blue Light Filter to reduce eye fatigue during extended gaming sessions. With a refresh rate of 60Hz, it provides smooth and uninterrupted gameplay, essential for fast-paced arcade games.
Flexibility in connectivity is another hallmark of the VA1903H. It supports a range of devices with HDMI and VGA inputs, making it compatible with most game systems and PCs. Whether you’re playing retro classics or modern titles, this monitor ensures a quality viewing experience that enhances your DIY arcade machine.
Incorporating the ViewSonic VA1903H into your arcade cabinet kit, especially one designed for 19″ to 23″ screens, ensures a perfect fit and an enhanced gaming experience. Its combination of widescreen format, eye comfort features, and versatile connectivity make it an ideal choice for arcade enthusiasts looking to bring their DIY project to life.
Building the Control Deck
The heart of any arcade machine is its control deck, where the magic of gaming comes to life. For those looking to equip their DIY arcade machine with high-quality controls, the EG STARTS 2 Player Arcade Games DIY Kit is an exceptional choice. Not only offers great value but also ensures a premium gaming experience.
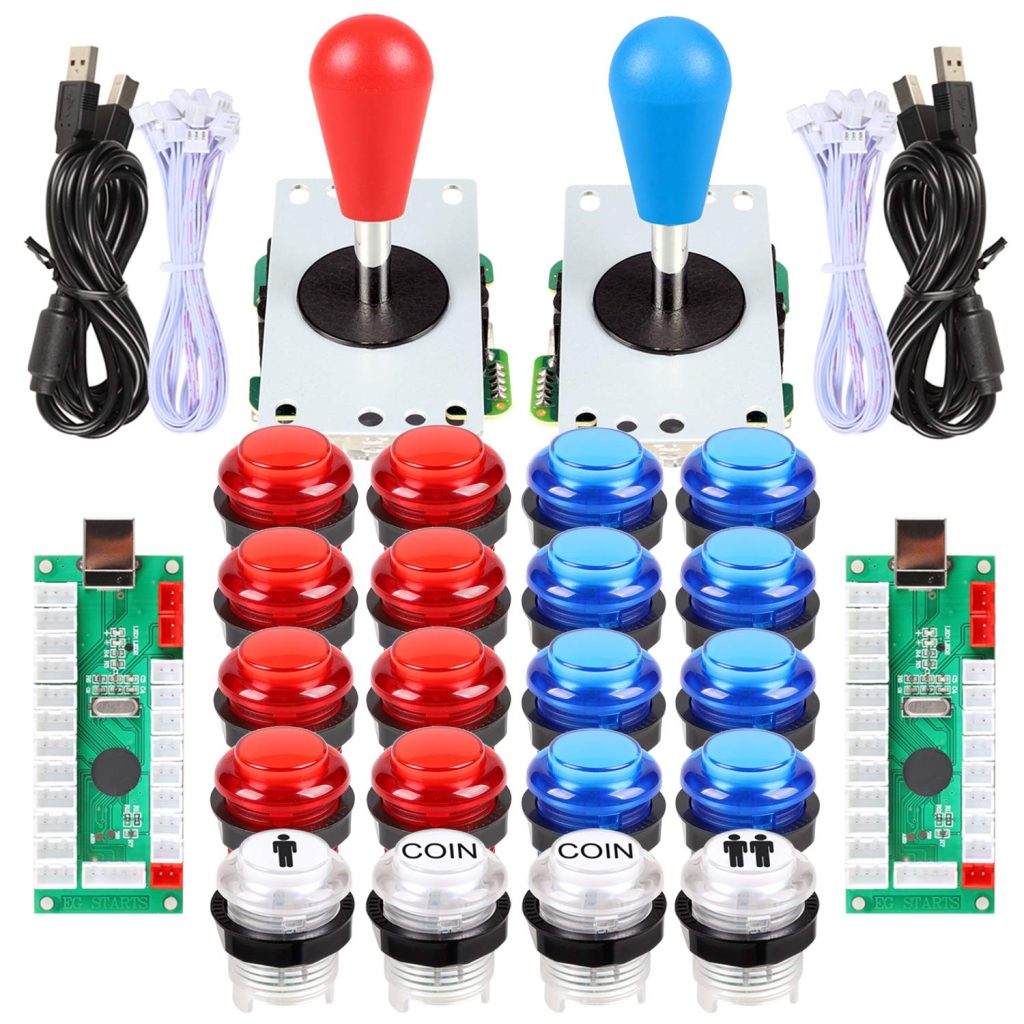
The EG STARTS kit includes 2 Ellipse Oval Joystick Handles and 20 LED-lit arcade buttons in a vibrant red and blue kit, perfect for creating a classic arcade aesthetic with a modern twist. These exquisite LED arcade game parts are not just about looks; they are designed for durability and performance. Made from high-temperature-resistant plastic, the kit is built to withstand intense gaming sessions.
One of the standout features of the EG STARTS kit is its 100% Zero Delay Encoder, ensuring that every move and button press is registered instantly, with no lag. This is crucial for fast-paced arcade games where every second counts. The USB connectivity also means the kit works perfectly with all Windows systems, making it a versatile option for various DIY arcade projects.
Installation is straightforward, making this kit a fantastic choice for both beginners and experienced arcade enthusiasts. Whether you’re building a 2-player fighting setup or a classic arcade configuration, this kit provides both the aesthetic appeal and the functionality you need for an authentic arcade experience.
By integrating the EG STARTS control deck into your arcade machine, you’re ensuring a seamless blend of quality, responsiveness, and style, essential for bringing your favorite arcade games to life in your DIY project.
Marquee, Lighting, and Sound
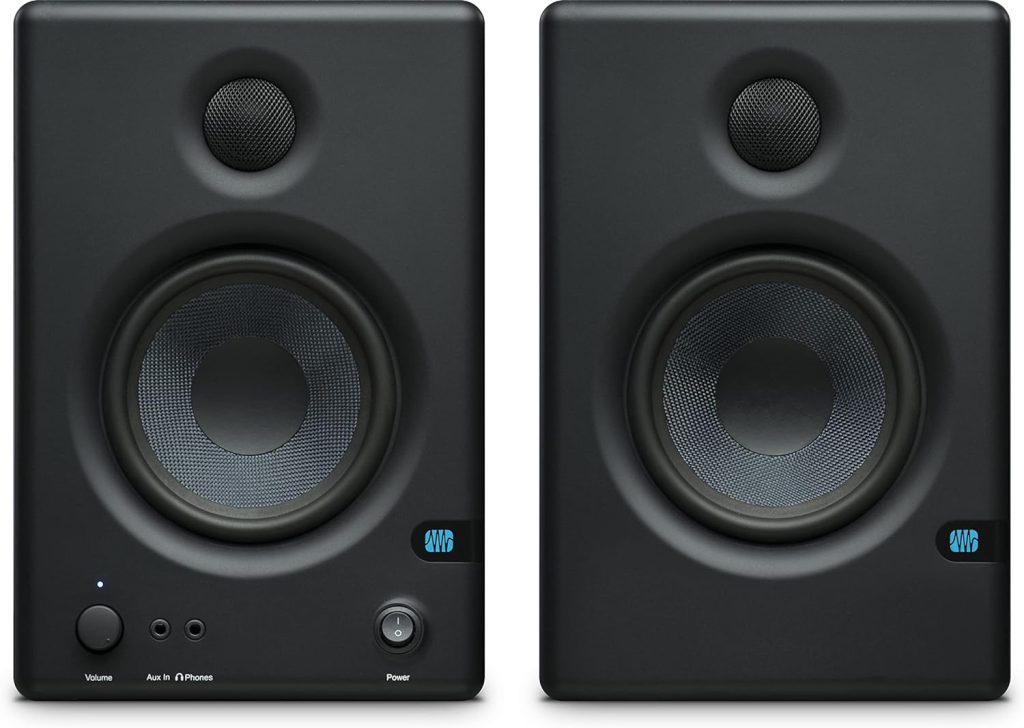
An arcade machine is not just about the games; it’s also about the immersive experience, which is greatly enhanced by quality sound. For an exceptional audio experience in your DIY arcade machine, the PreSonus Eris E4.5-2-Way 4.5″ Near Field Studio Monitor (Pair) is a top-notch choice and renowned for their studio-quality sound, making them a perfect addition to your arcade setup.

The PreSonus Eris E4.5 speakers are designed to deliver a balanced and accurate sound, crucial for both gaming and other media applications. The 4.5-inch, woven-composite, low-frequency transducer ensures a clear and rich sound output, while the 1-inch, ultra-low-mass, silk-dome, high-frequency transducer eliminates harshness, providing a smooth audio experience.
These studio monitors are versatile, equipped with RCA and ¼-inch balanced TRS rear-panel inputs, making them compatible with a variety of gaming systems. The integrated headphone amplifier and front-panel volume control add to the convenience, allowing for easy adjustments during gameplay. The 50-watt Class AB amplification (25 Watts per speaker) ensures plenty of volume and headroom for nearfield monitoring.
Additionally, the Eris E4.5 speakers come with high- and low-frequency tuning controls, allowing you to fine-tune the audio according to the acoustics of your space. The stereo aux input is perfect for connecting your smartphone, and the headphone jack offers private listening when needed.
By choosing the PreSonus Eris E4.5 studio monitors for your arcade machine, you’re ensuring an audio experience that matches the excitement of the games. Their compact size, powerful output, and tuning flexibility make them an ideal choice for bringing the classic arcade sound to your home.
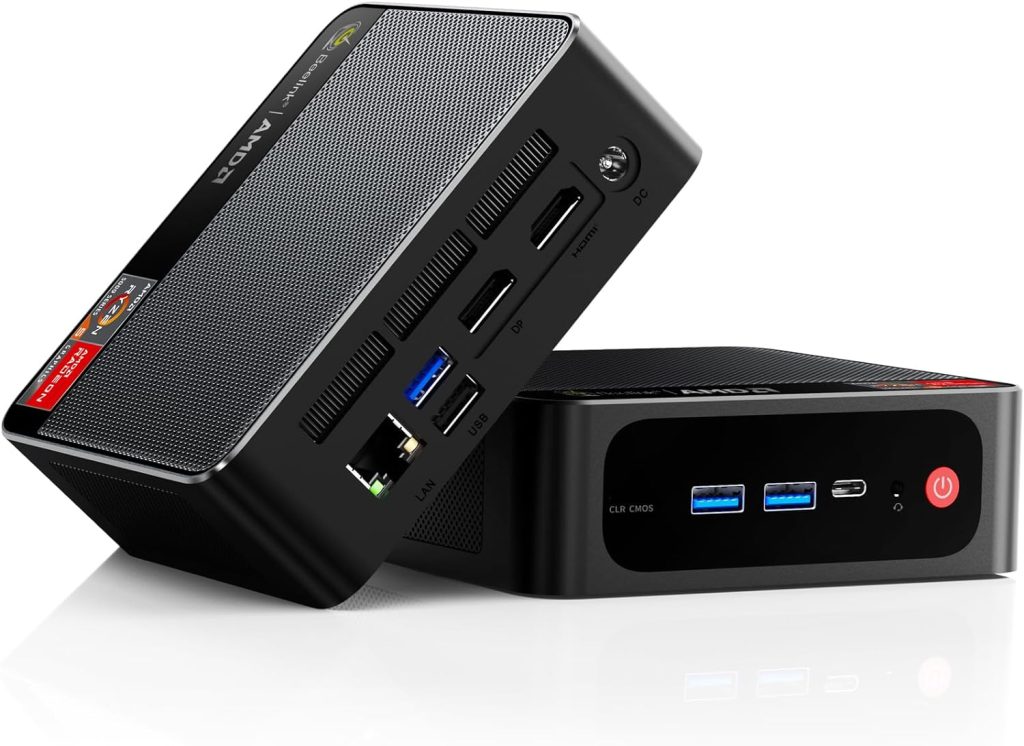
Final Assembly: Powering Up with Raspberry Pi
The final piece in constructing your DIY arcade machine is the heart of the system – the game processor. For a powerful yet compact solution, consider the Vilros Raspberry Pi 4 8GB Basic Starter Kit. This kit offers a robust setup ideal for running a wide range of arcade games.
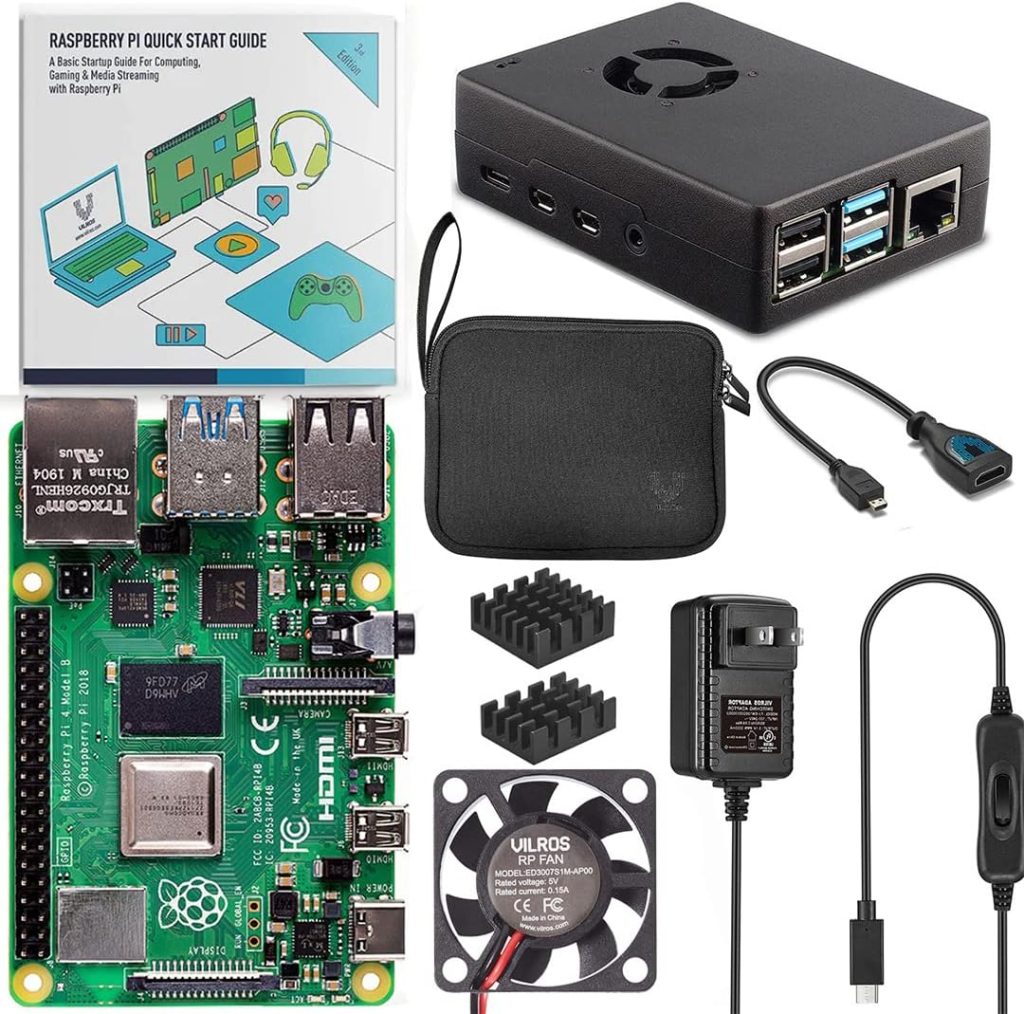
The Raspberry Pi 4 Model B in this kit comes equipped with 8GB of RAM, providing substantial processing power to handle retro gaming setups and various computer applications. The inclusion of an aluminum alloy case with a pre-installed fan ensures optimal cooling. This is crucial, as the more active the processor, the more heat it generates. The case’s design not only draws heat away from the Raspberry Pi board but also enhances the overall durability of the setup.
One of the standout features of this kit is its simplicity in operation. It includes a USB-C Raspberry Pi 4 compatible power supply with an easy-to-use on/off switch, specifically designed for streamlined processing. This setup allows you to effortlessly power your arcade machine while maintaining the flexibility and performance of the Raspberry Pi.
The improvements from previous Raspberry Pi models are significant, offering increases in processor speed, multimedia performance, connectivity, and more. The desktop performance of this model is comparable to entry-level x86 PC systems, ensuring that your DIY arcade machine can smoothly run a variety of games and applications.
Versatility is another key aspect of this kit. The Raspberry Pi can be used for a myriad of purposes, from powering an ad-blocking server to running a multiplayer network game server. It’s also capable of handling media playing, time-lapse video creation, and even security systems with motion capture.
By choosing the Vilros Raspberry Pi 4 8GB Basic Starter Kit for your arcade machine’s final assembly, you are investing in a system that combines high performance with versatility, ensuring that your arcade machine is not only a fun gaming center but also a multifunctional computer hub.
Enjoy Your Creation
Finally, it’s time to enjoy your DIY home arcade machine. Whether it’s reliving classic games or enjoying modern titles, your custom-built arcade will provide endless hours of entertainment.
For those looking to delve deeper into the world of DIY arcade machines, seeking advice from forums and community groups can be incredibly helpful. This project not only revives the golden era of gaming but also adds a personal touch to your gaming experience.
As an affiliate of Amazon and other retailers, we may earn a small commission when you buy via our links, at no additional cost to you. Thank you!